You’ve done it. You’ve pulled the perfect espresso shot, the aroma filling your kitchen. You’ve frothed your milk to a velvety, microfoam perfection. You pour your latte art masterpiece (or something that lovingly resembles a cloud), and take that first, glorious sip. But wait, what about the unsung hero of this morning ritual—the milk frother? If you’re asking What Is The Best Way To Dry The Frother, you’re already one step ahead of most home baristas. It’s a seemingly small detail, but trust me, getting it right is a total game-changer for the taste of your coffee and the lifespan of your gadget. Let’s dive into not just the how, but the why.
Why a Clean and Dry Frother is Non-Negotiable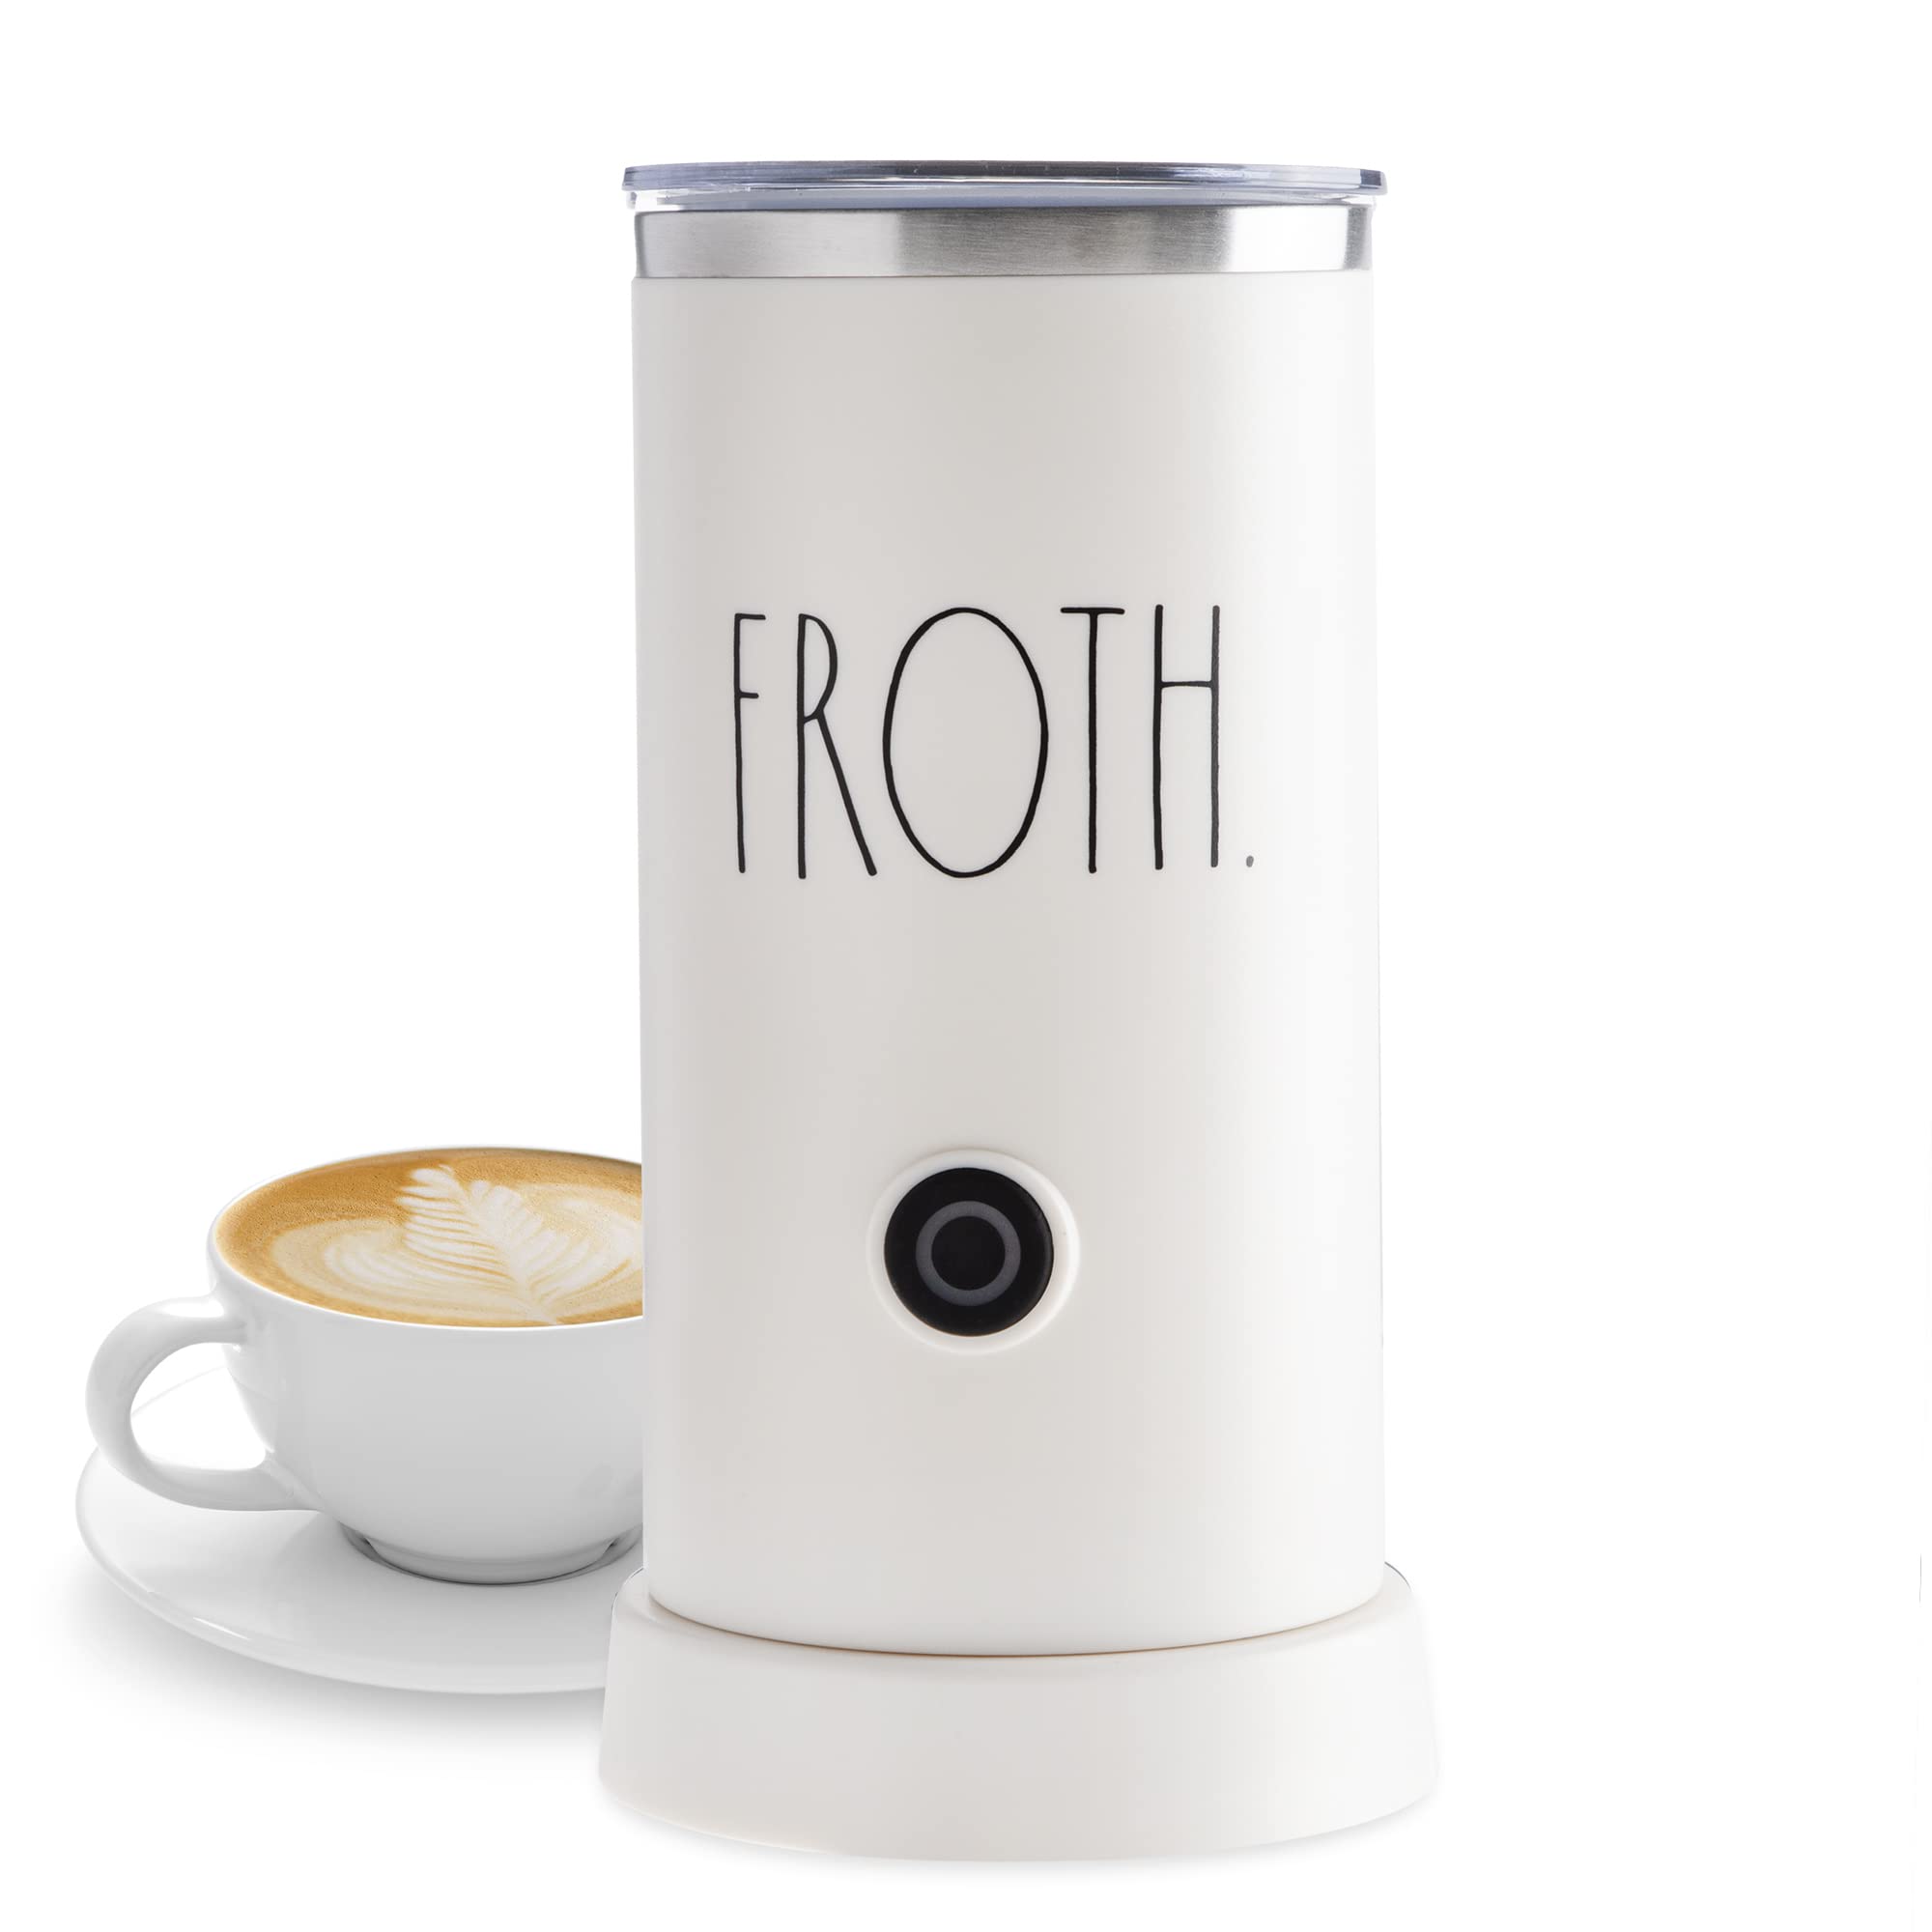
Before we even talk about drying, we have to talk about cleaning. Think of them as a dynamic duo; you can’t have one without the other. Drying a frother that still has milk residue on it is like putting clean clothes on after a mud run—it just doesn’t make sense.
Milk, as delicious as it is, is a breeding ground for bacteria. Those little bits of milk protein and fat can quickly turn into a funky, sour mess that will ruin your next drink. A quick rinse isn’t enough. The golden rule is to clean your frother immediately after every single use.
Here’s the lightning-fast cleaning routine:
- Rinse Immediately: As soon as you’re done frothing, run the whisk head under hot water.
- Add a Drop of Soap: Put a tiny drop of dish soap into a cup of hot water.
- Whisk it Clean: Submerge the frother’s whisk in the soapy water and turn it on for about 15-20 seconds. This gets the soap into all the tiny coils and crevices.
- Rinse Again: Run it under clean, hot water one more time to wash away all the soap.
Now, with a sparkling clean frother in hand, we can finally tackle the main event.
|
Our Picks for the Best Milk Steamer in 2025
As an Amazon Associate, we earn from qualifying purchases.
|
||
| Num | Product | Action |
|---|---|---|
| 1 | Dreo Milk Frother [Upgraded], All-in-1 Electric Foam Maker for Coffee, 15oz/450ml Automatic Foam Frother for Latte Art-level Microfoam, 30+ Drinks, Dishwasher Safe, Easy to Clean, LED display |
![Check Dreo Milk Frother [Upgraded], All-in-1 Electric Foam Maker for Coffee, 15oz/450ml Automatic Foam Frother for Latte Art-level Microfoam, 30+ Drinks, Dishwasher Safe, Easy to Clean, LED display on Amazon](https://milksteamerfrother.com/wp-content/plugins/amazon-tables/image/buy.png)
|
| 2 | Instant Pot Milk Frother, 4-in-1 Electric Milk Steamer, 10oz/295ml Automatic Hot and Cold Foam Maker and Milk Warmer for Latte, Cappuccinos, Macchiato, From the Makers of Instant 500W, Black |
|
| 3 | Milk Frother and Steamer, Large Capacity Detachable Electric Milk Frother, Automatic Warm and Cold Foam Maker, Stainless Steel Jug, BPA Free |
|
| 4 | Subminimal NanoFoamer Pro Gen-2 – Revolutionary Hands-Free Microfoam Milk Maker for Cafe-Quality Foam, Coffee Bar Accessories for Dairy & Plant-Based Milk, Perfect Coffee Gifts – US Plug Type |
|
| 5 | Milk Frother and Steamer, Large Capacity Detachable Electric Milk Frother, Automatic Warm and Cold Foam Maker, Hot Chocolate Maker, BPA Free, Black |
|
| 6 | SIMPLETASTE Milk Frother, 4-in-1 Electric Milk Steamer, Automatic Warm and Cold Foam Maker and Milk Warmer for Latte, Cappuccinos, Macchiato |
|
| 7 | Nespresso Aeroccino 3 Milk Frother, Black, Steel |
|
| 8 | Electric Milk Frother and Steamer, 16.9oz/500ml Milk Steamer and Frother for Latte, Dishwasher Safe, BPA Free, 4 Functions, Enjoy Perfect Milk Froth in 2 Min - White |
|
| 9 | SIMPLETASTE Milk Frother, 4-in-1 Electric Milk Steamer, Automatic Warm and Cold Foam Maker and Milk Warmer for Latte, Cappuccinos, Macchiato |
|
| 10 | Dreo Milk Frother [Upgraded], All-in-1 Electric Foam Maker for Coffee, 15oz/450ml Automatic Foam Frother for Latte Art-level Microfoam, 30+ Drinks, Dishwasher Safe, Easy to Clean, LED display |
|
What Is The Best Way To Dry The Frother? The Methods, Ranked
So, your frother is clean. Now what? You might be tempted to just stick it back in its stand or toss it in the drawer, but that lingering moisture is the enemy. It can lead to water spots, rust on metal components, and even create a hospitable environment for mildew in humid climates. Let’s break down the options from “okay in a pinch” to “barista-level best practice.”
The Air-Dry Method: Simple but Risky
This is what most people do. You give the frother a good shake and then place it in its stand or on a dish rack to air dry.
- Pros: It’s effortless. You set it and forget it.
- Cons: It’s slow. Depending on the humidity in your home, it can take a long time to dry completely. This prolonged moisture exposure isn’t great for the metal parts and can lead to unsightly water spots. In a worst-case scenario, it can contribute to a musty smell over time.
Think of it like leaving a wet sponge in the sink. It eventually dries, but it’s not the most hygienic path forward.
The Paper Towel Method: The Quick Fix
Grabbing a paper towel to give your frother a quick wipe-down is a definite step up from just air-drying.
- Pros: It’s fast, convenient, and the paper towel is disposable.
- Cons: Paper towels can be your frother’s worst frenemy. They often shed little bits of lint and paper fibers that can get caught in the whisk. The last thing you want is paper pulp in your morning cappuccino. They also aren’t always absorbent enough to get the frother bone-dry.
The Microfiber Cloth Method: The Champion’s Choice
And here we have it, the undisputed winner. The best way to dry the frother is with a clean, dry microfiber cloth. This is the method professionals use, and for very good reasons.
- Pros: Microfiber is incredibly absorbent, pulling moisture away instantly. It’s also lint-free, so you don’t have to worry about leaving anything behind. The soft texture is gentle on the frother’s finish, and you can easily work the cloth around the delicate coils of the whisk to ensure every single spot is dry.
- Cons: You need to have a dedicated clean cloth on hand. But let’s be real, if you’re serious about your coffee, having a “coffee station” towel is a small, worthy investment.
Here’s the simple, foolproof process:
- After the final rinse, give the frother a gentle shake over the sink to remove excess water.
- Take your clean, dry microfiber cloth.
- Gently but thoroughly wipe down the wand and the whisk head. Pinch the cloth around the whisk and twist gently to dry between the coils.
- Give the handle a quick wipe as well, especially near the button where water can collect.
- Place your perfectly dry frother back in its stand, ready and waiting for its next mission.
What About Automatic Frothers and Steam Wands?
The principles are the same, but the application is slightly different.
- Automatic Frother Jugs: For electric frothers that come with a jug (like a Nespresso Aeroccino), you should never submerge the base in water. For the jug itself, wash it by hand with soap and water immediately. Then, use a microfiber cloth to dry the inside and outside completely before storing it. Leaving it wet can damage non-stick coatings and harbor bacteria.
- Espresso Machine Steam Wands: This is a whole different ball game. The key is to purge and wipe.
- Immediately after steaming milk, point the wand over the drip tray and turn on the steam for 1-2 seconds. This is called “purging” and it blows out any milk that got sucked up inside the wand.
- Use a dedicated, damp microfiber cloth (often called a “steam wand cloth”) to wipe off all the milk residue from the outside of the wand. Do this instantly, or the milk will cook on and become a nightmare to remove.
- Purge it one more time for good measure. The heat from the final purge helps evaporate any remaining moisture.
“A dirty, wet steam wand is a barista’s cardinal sin. It’s not just about hygiene; dried milk can clog the steam tip, affecting your pressure and the quality of your microfoam. A ‘purge, wipe, purge’ routine is muscle memory for us. It should be for home users, too.” – Isabella Rossi, Lead Barista and Coffee Educator
The Hidden Dangers of an Improperly Dried Frother
You might be thinking, “Is all this really necessary?” Absolutely. A damp frother is more than just a minor oversight.
- Bacteria and Mold: This is the big one. Lingering moisture is an open invitation for bacteria and even mold to set up shop.
- Rust and Corrosion: Most frother whisks are made of stainless steel, which is rust-resistant, not rust-proof. Constant exposure to moisture, especially if you have hard water, can eventually lead to corrosion.
- Off-Flavors: A frother that isn’t properly cleaned and dried can develop a musty or sour smell, which will absolutely transfer to your beautifully frothed milk, ruining the delicate flavors of your coffee.
Taking that extra 10 seconds to dry your frother properly is a small investment that pays huge dividends in taste, hygiene, and the longevity of your equipment.
Frequently Asked Questions About Frother Care
Q: Can I put my handheld milk frother in the dishwasher?
A: Almost always, no. The handle contains the motor and batteries, and submerging it in water will destroy it. The whisk attachment on some higher-end models may be dishwasher-safe, but you must always check the manufacturer’s instructions. When in doubt, hand wash and dry.
Q: How often should I deep clean my frother?
A: If you follow the “clean and dry after every use” rule, you rarely need a “deep clean.” However, if you notice any buildup, you can soak the whisk head in a solution of hot water and a coffee equipment cleaning powder (like Cafiza) for about 15 minutes, then rinse and dry thoroughly.
Q: What’s that slightly sour smell coming from my frother?
A: That’s the smell of old milk protein. It means you haven’t been cleaning it thoroughly or drying it properly. Follow the cleaning steps with soap and give it a very thorough drying with a microfiber cloth. The smell should disappear after one or two proper cleanings.
Q: Is it really okay to leave my frother wet in its stand overnight?
A: While it probably won’t break it immediately, it’s a bad habit. As we’ve discussed, this can lead to water spots, potential bacterial growth, and isn’t ideal for the longevity of the device. The 10 seconds it takes to dry it is well worth the effort.
Q: Does the type of milk (dairy vs. oat vs. almond) affect how I should dry the frother?
A: The drying method remains the same regardless of the milk type. However, plant-based milks, especially those with added sugars and oils, can sometimes leave a more stubborn residue. This makes the cleaning step even more critical before you proceed to drying.
The Final Sip
At the end of the day, that little frother is a key player in your quest for café-quality drinks at home. Treating it with a little respect by cleaning it properly and taking the time to dry it will pay you back with consistently delicious, silky, and hygienic foam. So, to answer the question of what is the best way to dry the frother once and for all: grab a clean microfiber cloth. It’s the simple, effective, and barista-approved secret to keeping your equipment in top shape and your coffee tasting exactly as it should—perfect.