Ever gaze at a beautifully poured latte heart or rosetta and wonder, “How on earth do they do that?” The secret isn’t just a steady hand; it’s the magical, liquid silk that baristas call microfoam. If you’ve ever tried to create latte art with bubbly, stiff foam, you know the frustration. It just… sits there. So, What Is Microfoam For Latte Art, and how can you master it at home? You’ve come to the right place. We’re about to pull back the curtain on the single most important element for cafe-quality coffee at home.
The Secret Ingredient: What is Microfoam, Really?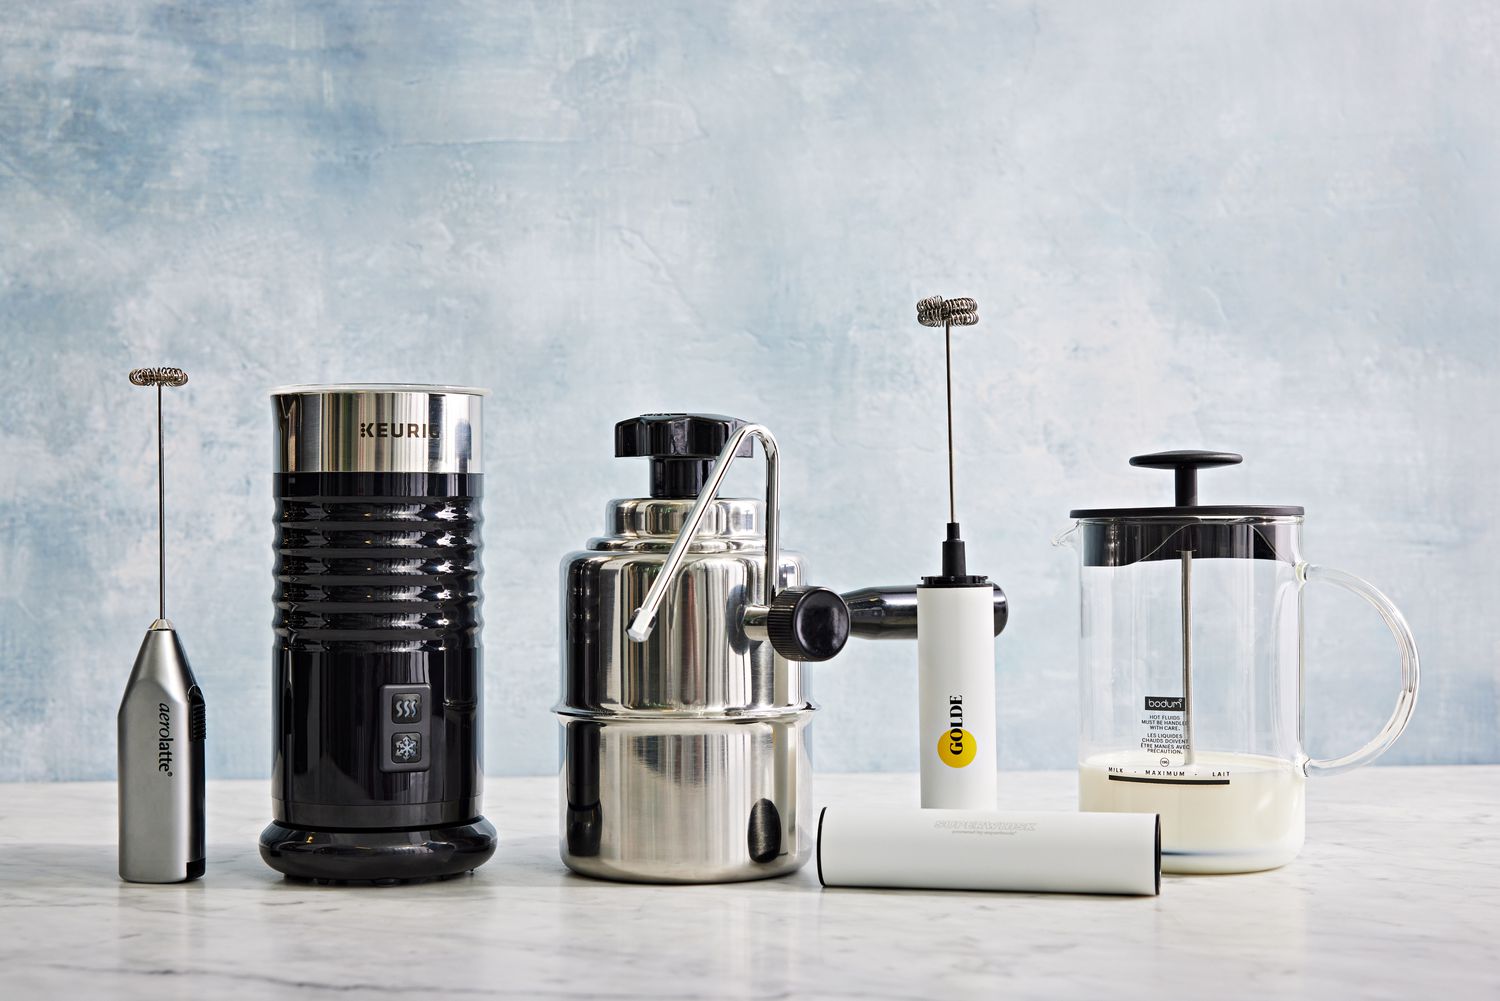
Microfoam is perfectly steamed milk that has a velvety, liquid texture, a glossy sheen like wet paint, and contains no visible bubbles. It’s created by incorporating countless tiny, microscopic air bubbles into the milk, which are so small and evenly distributed that they become one with the liquid, increasing its volume and giving it a rich, sweet taste and a luxurious mouthfeel.
Think of it this way:
- Bad Foam (Macrofoam): This is the stiff, dry foam you might see on an old-school cappuccino. It’s like a pile of soap suds – light, airy, and separate from the liquid milk below. It’s impossible to pour latte art with this because it just plops onto the espresso.
- Perfect Foam (Microfoam): This is integrated, pourable, and fluid. It blends seamlessly with the crema of your espresso shot, allowing you to create contrast and intricate designs.
The science is pretty cool. When you steam milk, you’re doing two things simultaneously: heating it and aerating it. The proteins in the milk (whey and casein) unravel and form stable pockets around the air bubbles you introduce. The milk’s fat content contributes to the creamy texture and rich flavor. Achieving microfoam is about finding the perfect balance—introducing just enough air at the beginning and then focusing on integrating that air into a smooth, swirling vortex.
Why You Can’t Pour a Rosetta with Bubbly Foam
So, why is this distinction so critical for aspiring latte artists? The answer lies in physics and flow. When you try to pour with bubbly, separated foam, the liquid milk pours out first, and then the foam dollops on top. There’s no integration.
Properly made microfoam, however, behaves like a single, cohesive liquid. It has the right density and viscosity to “float” on the espresso’s crema for a moment before sinking, allowing a skilled hand to push, cut, and draw with the milk stream. It’s this beautiful dance between the white microfoam and the reddish-brown crema that creates the patterns we all love.
Expert Take with Isabella Rossi: A professional barista with over a decade of experience, Isabella says, “New baristas always focus on the art, but the art is impossible without the canvas. Microfoam is your canvas. If your milk isn’t like liquid velvet, you’re just making a mess. Focus 90% of your energy on the milk, and the art will follow.”
Your Toolkit: Finding the Right Milk Steamer
You can’t create microfoam without the right tool. While a professional espresso machine with a powerful steam wand is the gold standard, you can achieve amazing results at home with a dedicated milk steamer or frother.
Handheld Frothers: The Entry Point
These battery-operated wands are fantastic for beginners. They’re affordable and easy to use but excel at creating thicker foam. Making true microfoam is tricky and requires a specific technique of only submerging the tip slightly to avoid creating large bubbles.
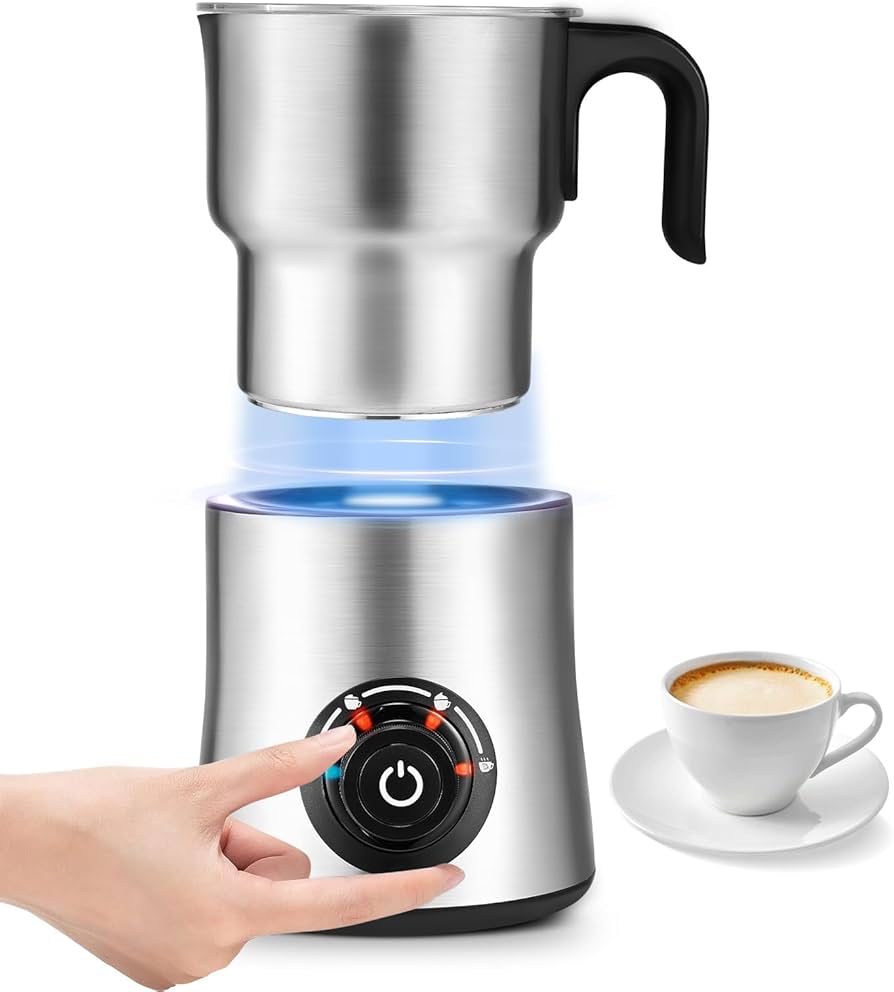
Automatic Frothers: Consistency is Key
These are countertop appliances that heat and froth milk at the push of a button. Many modern models have settings for different foam styles, including a “latte” or “flat white” setting designed to create a denser, more liquid foam that’s close to microfoam. For those who want consistency without a steep learning curve, this is a fantastic option. We have a full breakdown of the best automatic milk frothers if you’re exploring this path.
|
Our Picks for the Best Milk Steamer in 2025
As an Amazon Associate, we earn from qualifying purchases.
|
||
| Num | Product | Action |
|---|---|---|
| 1 | SIMPLETASTE Milk Frother, 4-in-1 Electric Milk Steamer, Automatic Warm and Cold Foam Maker and Milk Warmer for Latte, Cappuccinos, Macchiato |

|
| 2 | Dreo Milk Frother [Upgraded], All-in-1 Electric Foam Maker for Coffee, 15oz/450ml Automatic Foam Frother for Latte Art-level Microfoam, 30+ Drinks, Dishwasher Safe, Easy to Clean, LED display |
|
| 3 | Milk Frother and Steamer, Large Capacity Detachable Electric Milk Frother, Automatic Warm and Cold Foam Maker, Hot Chocolate Maker, BPA Free, Black |
|
| 4 | Electric Milk Frother and Steamer, 16.9oz/500ml Milk Steamer and Frother for Latte, Dishwasher Safe, BPA Free, 4 Functions, Enjoy Perfect Milk Froth in 2 Min - White |
|
| 5 | Subminimal NanoFoamer Pro Gen-2 – Revolutionary Hands-Free Microfoam Milk Maker for Cafe-Quality Foam, Coffee Bar Accessories for Dairy & Plant-Based Milk, Perfect Coffee Gifts – US Plug Type |
|
| 6 | Dreo Milk Frother [Upgraded], All-in-1 Electric Foam Maker for Coffee, 15oz/450ml Automatic Foam Frother for Latte Art-level Microfoam, 30+ Drinks, Dishwasher Safe, Easy to Clean, LED display |
|
| 7 | Milk Frother and Steamer, Large Capacity Detachable Electric Milk Frother, Automatic Warm and Cold Foam Maker, Stainless Steel Jug, BPA Free |
|
| 8 | Nespresso Aeroccino 3 Milk Frother, Black, Steel |
|
| 9 | SIMPLETASTE Milk Frother, 4-in-1 Electric Milk Steamer, Automatic Warm and Cold Foam Maker and Milk Warmer for Latte, Cappuccinos, Macchiato |
|
| 10 | Instant Pot Milk Frother, 4-in-1 Electric Milk Steamer, 10oz/295ml Automatic Hot and Cold Foam Maker and Milk Warmer for Latte, Cappuccinos, Macchiato, From the Makers of Instant 500W, Black |
|
Steam Wands: The Pro’s Choice
Found on semi-automatic and professional espresso machines, steam wands offer the most control and are the best tool for creating true microfoam. They inject high-pressure steam that both heats and textures the milk simultaneously. There’s a learning curve, but the results are unparalleled.
The Ultimate Guide: What is Microfoam for Latte Art and How to Create It
Ready to roll up your sleeves? Let’s break down the process of creating that elusive, silky milk using a steam wand. The principles here also apply to other methods, focusing on minimal aeration and maximum integration.
- Start Cold, Stay Cold. Always use fresh, cold milk straight from the fridge and a chilled stainless steel pitcher. Cold milk gives you more time to introduce air and texture it before it gets too hot. Warm milk will scald long before you can create a decent foam.
- The Aeration Phase (“Stretching”). This is where you introduce the air.
- Submerge the tip of the steam wand just below the surface of the milk, slightly off-center.
- Turn the steam on full power. You should hear a gentle, consistent “tsss-tsss-tsss” sound, like paper tearing. This is the sound of air being sucked into the milk.
- Let the milk’s volume expand by about 20-30%. This phase should only last a few seconds (3-5 seconds for a single latte). If you hear loud, screeching noises, the wand is too deep. If you see big, ugly bubbles forming, the wand is too high.
- The Integration Phase (“The Vortex”). Now, you stop adding air and start spinning.
- Raise the pitcher slightly to submerge the steam wand deeper into the milk.
- Angle the pitcher so the steam creates a powerful whirlpool or vortex. This is the most crucial step. The vortex breaks down any larger bubbles and folds the airy foam back into the liquid milk, creating that uniform, silky microfoam.
- Continue this vortex until the pitcher is too hot to comfortably hold for more than a second or two (around 140-150°F or 60-65°C).
- Watch the Temperature. Don’t overheat your milk! Once it goes past 160°F (70°C), the proteins break down completely, and the milk loses its sweetness, taking on a burnt, sulfurous flavor. A thermometer is your best friend when you’re starting out.
- The Finishing Touches.
- Immediately turn off the steam and wipe the wand with a damp cloth. Give it a quick purge to clear out any milk inside.
- Gently tap the pitcher on the counter a couple of times to pop any remaining surface bubbles.
- Swirl the milk in the pitcher continuously until you’re ready to pour. This keeps it integrated and glossy. If you let it sit, it will separate. Your milk should look like shiny, white paint.
Pro Tips from Behind the Counter
- Whole Milk is King: The higher fat and protein content in whole milk makes it the easiest and most forgiving for learning. The resulting microfoam is rich, creamy, and sweet. You can use alternative milks, but look for “barista series” versions, which have added stabilizers to help them foam properly.
- The Right Pitcher Matters: Use a stainless steel pitcher with a sharp spout. The metal helps you gauge the temperature by hand, and the spout is essential for pouring with control.
- Practice with Water: To master the vortex without wasting milk, practice with water and a single drop of dish soap. This will help you find the right wand position and angle to get the liquid spinning perfectly.
- Listen Closely: Your ears are as important as your eyes. Learn to recognize the sound of gentle aeration versus the gurgling of big bubbles. The hum of a perfect vortex is a beautiful sound.
Keeping Your Gear in Top Shape: Cleaning & Maintenance
Milk residue can build up quickly and harbor bacteria, not to mention clog your steam wand. Cleanliness is non-negotiable.
- Wipe and Purge Every Single Time: As mentioned, wipe the wand with a dedicated damp cloth and purge it immediately after every use.
- Daily Soak: At the end of the day, soak the steam wand tip in hot water for a few minutes to dissolve any hardened milk.
- Regular Deep Clean: Periodically use a specialized cleaner to break down milk stone buildup inside the wand. Always follow your machine’s manual for specific instructions. Our guide on how to properly clean and maintain your milk frother has more detailed steps.
FAQs: Your Microfoam Questions Answered
Q: Can I make microfoam with non-dairy milk?
A: Yes, but it can be challenging. Oat milk is generally the best performer, followed by soy. Look for “barista edition” versions of your favorite alternative milk, as they are formulated with extra proteins and fats to steam better and create a more stable foam suitable for latte art.
Q: What’s the difference between microfoam and froth?
A: “Froth” is a general term for foamed milk. Microfoam is a specific type of froth characterized by its microscopic bubbles, liquid texture, and glossy appearance. The stiff, bubbly foam on a traditional cappuccino is also froth, but it is not microfoam.
Q: Why is my milk getting too bubbly?
A: You’re likely aerating for too long or have the steam wand tip too close to the surface of the milk. The aeration phase should be very short—just a few seconds. After that, the goal is to submerge the wand and spin the milk to integrate the air, not add more.
Q: At what temperature does milk start to burn?
A: Milk proteins begin to break down rapidly and lose their sweetness above 160°F (70°C). The ideal temperature range for sweet, perfectly textured microfoam is between 140-150°F (60-65°C).
Q: Do I need an expensive espresso machine to make good microfoam?
A: While a machine with a powerful steam wand gives you the most control, you can absolutely create pourable, latte-art-worthy milk with a quality automatic milk frother. It takes practice and the right technique, but it’s very achievable for the home barista.
The Final Swirl
Mastering the art and science of milk steaming is a journey, not a destination. Understanding what is microfoam for latte art is the first, giant leap. It’s not just foam; it’s a textured, sweetened, and essential ingredient that transforms a simple coffee into a luxurious experience. It takes practice, patience, and a little bit of know-how, but when you pour that first, silky-smooth heart, the feeling is unbeatable. So grab your pitcher, some cold milk, and start steaming. Your perfect homemade latte is waiting.