You know that magical moment. The gentle whir of your milk frother, the transformation of cold milk into a velvety, cloud-like foam. It’s the crown jewel of your morning latte, the comforting cap on your evening cocoa. But what happens when that magic starts to fade? When you find stubborn, burnt-on milk residue that just won’t budge? The secret to a long and happy relationship with your frother lies in one crucial detail: knowing How To Care For A Nonstick Coating. It’s the unsung hero inside your machine, and treating it right is the difference between daily delight and frustrating clean-up.
Think of it this way: the nonstick surface is like the slick, freshly Zambonied ice at a hockey rink. When it’s perfect, everything glides effortlessly. But a few nicks and scratches can ruin the game. Let’s dive into how you can keep your frother’s surface in pristine condition, ensuring perfect foam every single time.
Why That Silky Smooth Surface is Your Best Friend
Before we get into the nitty-gritty of maintenance, let’s appreciate what that nonstick coating actually does. It’s not just there to look pretty.
- Effortless Cleaning: This is the most obvious benefit. Milk proteins and sugars love to cling to surfaces when heated. A quality nonstick coating means you can often just rinse and wipe, saving you precious minutes in your morning routine.
- Prevents Scorching: The coating helps distribute heat more evenly, reducing the chances of milk burning onto the bottom. Scorched milk not only tastes terrible but can be a nightmare to scrub off, potentially damaging your frother in the process.
- Better Foam Quality: A clean, smooth surface allows the milk to heat and circulate uniformly. This consistent movement is key to creating that perfect, tight-bubbled microfoam that baristas dream of.
Essentially, a well-maintained coating is the foundation for a great-tasting, beautifully textured drink. Neglecting it is like trying to cook an omelet in a rusty cast-iron pan—it’s just not going to end well.
The Ultimate Guide: How to Care for a Nonstick Coating
Alright, let’s get down to business. Protecting that surface isn’t complicated, but it does require a bit of mindfulness. These are the golden rules I’ve learned over years of frothing (and a few early mistakes!).
The Do’s: Your Nonstick’s Best Practices
These simple habits will dramatically extend the life of your frother.
- Rinse Immediately After Use: This is the single most important tip. Don’t let the frother sit on the counter with that last bit of milk in it. As it cools, the milk sugars will harden and stick like glue. As soon as you’ve poured your foam, give the jug a quick rinse with warm water. Most of the time, this is all the cleaning you’ll need.
- Use a Soft Sponge or Cloth: When you do need to wash it, treat it gently. A soft sponge, a microfiber cloth, or a non-abrasive bottle brush is your best friend. Think of it like washing a luxury car; you wouldn’t use sandpaper, would you?
- Choose Mild Soap: A little drop of regular dish soap is all you need. Avoid harsh detergents, abrasive powders (like Comet or Ajax), or anything with bleach. These chemicals can degrade the nonstick coating over time.
- Dry It Thoroughly: After washing, wipe it dry with a soft towel or let it air dry completely before storing. This prevents water spots and any potential mineral buildup.
|
Our Picks for the Best Milk Steamer in 2025
As an Amazon Associate, we earn from qualifying purchases.
|
||
| Num | Product | Action |
|---|---|---|
| 1 | Milk Frother and Steamer, Large Capacity Detachable Electric Milk Frother, Automatic Warm and Cold Foam Maker, Hot Chocolate Maker, BPA Free, Black |

|
| 2 | SIMPLETASTE Milk Frother, 4-in-1 Electric Milk Steamer, Automatic Warm and Cold Foam Maker and Milk Warmer for Latte, Cappuccinos, Macchiato |
|
| 3 | Milk Frother and Steamer, Large Capacity Detachable Electric Milk Frother, Automatic Warm and Cold Foam Maker, Stainless Steel Jug, BPA Free |
|
| 4 | Dreo Milk Frother [Upgraded], All-in-1 Electric Foam Maker for Coffee, 15oz/450ml Automatic Foam Frother for Latte Art-level Microfoam, 30+ Drinks, Dishwasher Safe, Easy to Clean, LED display |
|
| 5 | Dreo Milk Frother [Upgraded], All-in-1 Electric Foam Maker for Coffee, 15oz/450ml Automatic Foam Frother for Latte Art-level Microfoam, 30+ Drinks, Dishwasher Safe, Easy to Clean, LED display |
|
| 6 | Nespresso Aeroccino 3 Milk Frother, Black, Steel |
|
| 7 | Electric Milk Frother and Steamer, 16.9oz/500ml Milk Steamer and Frother for Latte, Dishwasher Safe, BPA Free, 4 Functions, Enjoy Perfect Milk Froth in 2 Min - White |
|
| 8 | Subminimal NanoFoamer Pro Gen-2 – Revolutionary Hands-Free Microfoam Milk Maker for Cafe-Quality Foam, Coffee Bar Accessories for Dairy & Plant-Based Milk, Perfect Coffee Gifts – US Plug Type |
|
| 9 | SIMPLETASTE Milk Frother, 4-in-1 Electric Milk Steamer, Automatic Warm and Cold Foam Maker and Milk Warmer for Latte, Cappuccinos, Macchiato |
|
| 10 | Instant Pot Milk Frother, 4-in-1 Electric Milk Steamer, 10oz/295ml Automatic Hot and Cold Foam Maker and Milk Warmer for Latte, Cappuccinos, Macchiato, From the Makers of Instant 500W, Black |
|
The Don’ts: The Cardinal Sins of Frother Care
Avoiding these common pitfalls is just as important as adopting the good habits.
- Never Use Metal Utensils: I can’t stress this enough. Scraping out that last bit of foam with a metal spoon is the fastest way to scratch and ruin your coating. A single deep scratch can become a point where milk burns on and the coating begins to peel. If you must use a tool, make it a soft silicone spatula.
- Steer Clear of Abrasive Scrubbers: Steel wool, scouring pads, and the rough side of a standard kitchen sponge are forbidden. They will tear into the nonstick surface, rendering it useless.
- Avoid the Dishwasher (Usually): Even if the manufacturer says it’s “dishwasher safe,” I strongly recommend hand washing. The high heat, harsh detergents, and the potential for it to get knocked around in the dishwasher can significantly shorten the lifespan of the coating. A quick hand wash takes 30 seconds and is a much safer bet.
- Don’t Overheat an Empty Frother: Never turn your frother on without milk inside. Heating an empty nonstick vessel can cause the coating to break down and release fumes. Always add your milk first.
“I always tell people to treat their milk frother’s nonstick coating like they’d treat their favorite pair of sunglasses. You wouldn’t clean your lenses with a paper towel or toss them in a bag with your keys. A little bit of gentle, consistent care goes a very long way in preserving its performance and safety.” – Isabella Rossi, Home Appliance Durability Specialist
What If You Have Stubborn, Stuck-On Milk?
It happens to the best of us. You get distracted, and a thin layer of milk bakes onto the bottom. Don’t panic, and definitely don’t reach for that metal spoon. Here’s how to care for a nonstick coating when facing a tough spot:
- The Soak and Wait: Fill the frother with warm, soapy water and let it sit for 15-30 minutes. This will soften the cooked-on proteins, and they’ll often wipe away easily afterward.
- The Gentle Heat Method: For really stubborn spots, add a little water and a drop of soap to the frother and run it on a cold stir or gentle heat cycle. The agitation and warmth can help dislodge the residue without you having to scrub.
- The Baking Soda Paste: As a last resort, create a paste with a little baking soda and water. Apply it to the spot, let it sit for a few minutes, and then gently rub with a soft cloth. Baking soda is a mild abrasive that can lift stains without causing deep scratches. Rinse thoroughly afterward.
Choosing a Frother with Durability in Mind
When you’re in the market for a new milk frother, thinking about how to care for a nonstick coating starts before you even buy it.
- Look for Quality Coatings: Not all nonstick is the same. Look for brands that mention using high-quality, PFOA-free, multi-layer coatings. Ceramic coatings are also becoming a popular and very durable alternative.
- Read the Reviews: Check what other users are saying about the frother’s longevity. Do people complain about the coating peeling or scratching easily after a few months? That’s a major red flag.
- Consider the Design: Is the interior shape easy to clean? Frothers with awkward corners can be harder to wipe out, leading to residue buildup. A smooth, curved interior is ideal.
Frequently Asked Questions (FAQ)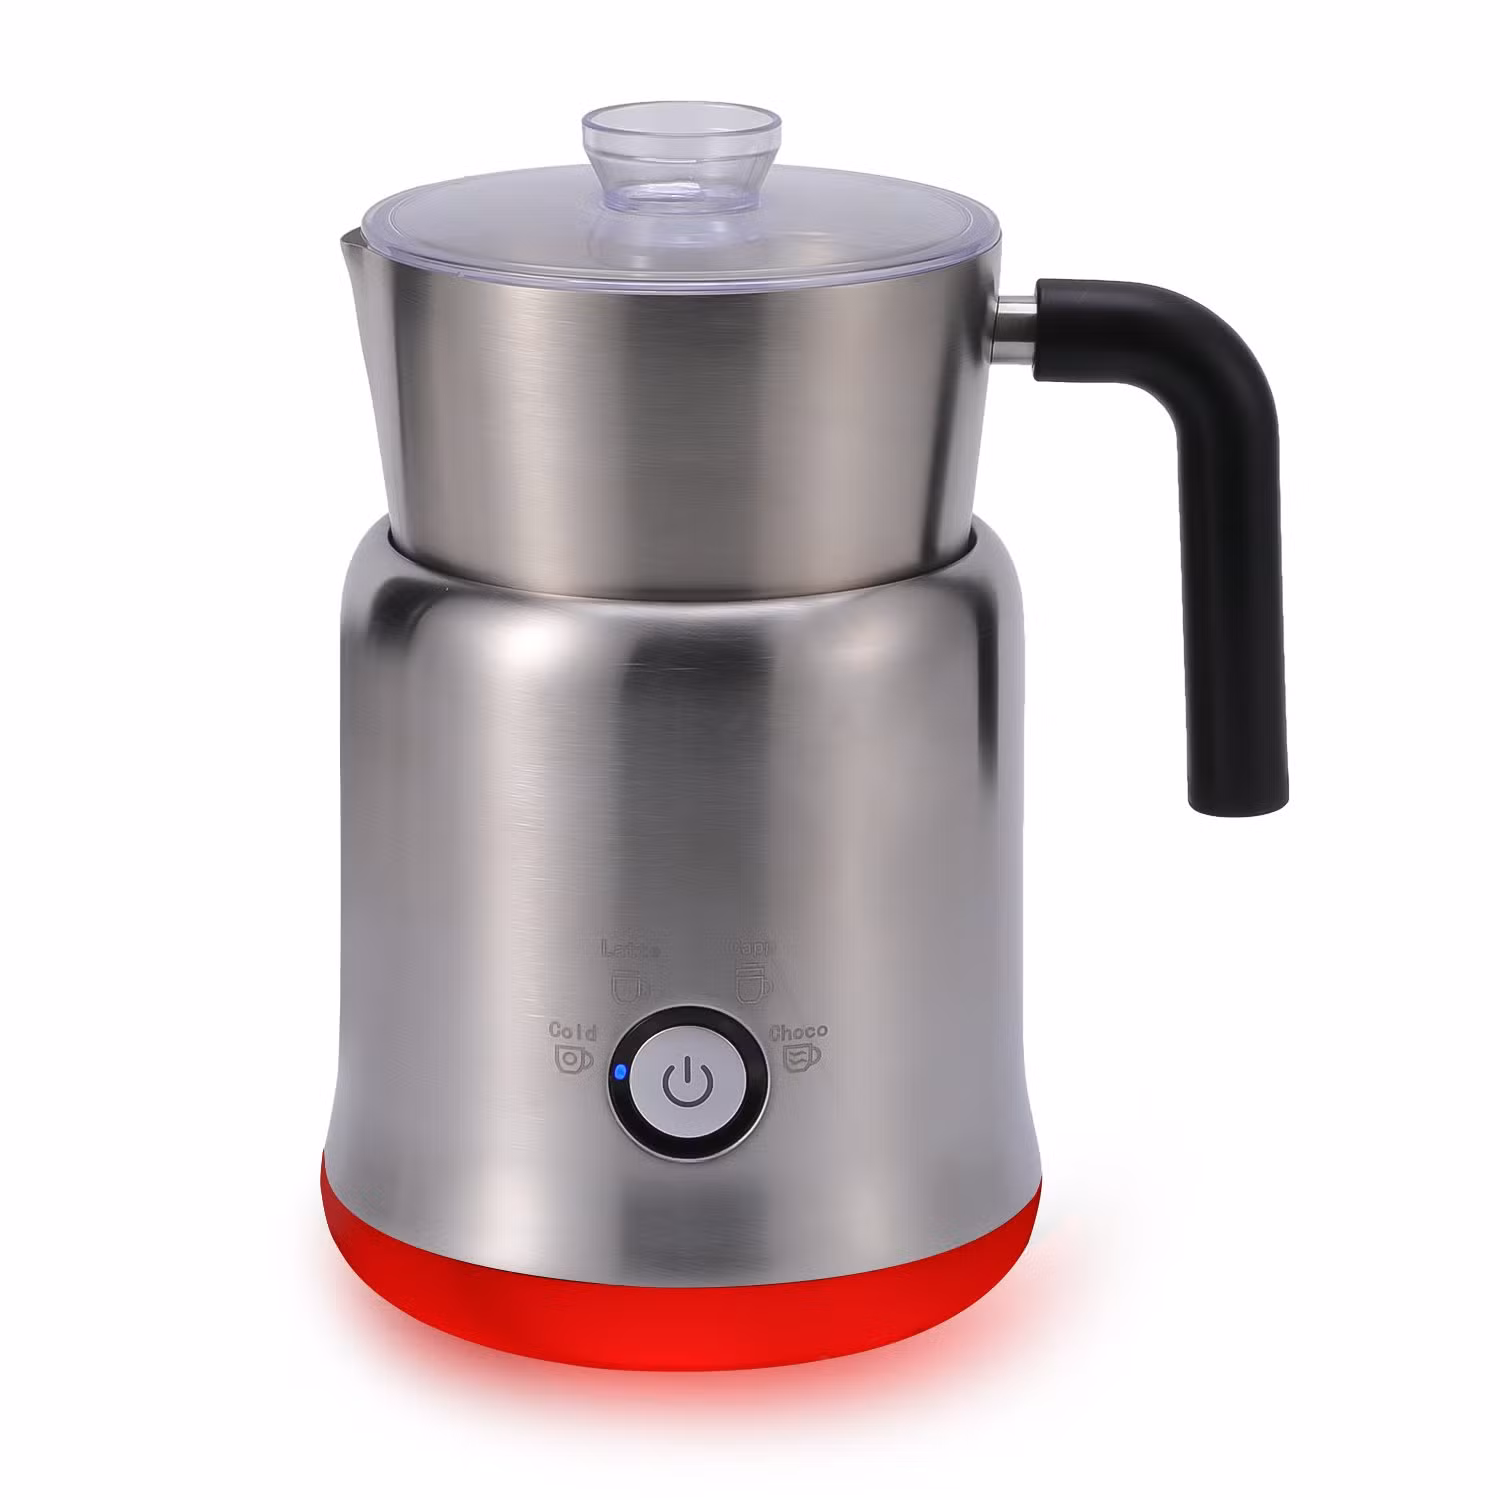
Q1: My nonstick coating is scratched. Is it still safe to use?
A: For minor, superficial scratches, it’s generally considered safe. However, if the coating is flaking, peeling, or has deep gouges that reveal the metal underneath, it’s best to replace the frother. Those deep scratches will cause milk to burn and can harbor bacteria.
Q2: How can I remove the burnt milk smell from my frother?
A: A great trick is to fill the frother with a 50/50 solution of white vinegar and water. Let it soak for about 30 minutes, then rinse thoroughly. The vinegar helps to neutralize odors without harming the nonstick surface.
Q3: Can I use a magic eraser on my nonstick coating?
A: No, you should not. A magic eraser is a form of micro-abrasive and will damage the nonstick coating, similar to using a scouring pad. Stick to soft cloths and sponges for cleaning.
Q4: Why is my milk sticking even though I’m cleaning my frother properly?
A: This could be a sign that the nonstick coating is nearing the end of its life due to age and use. It can also happen if you’re using milk with very high sugar content (like some oat or flavored milks) which are more prone to caramelizing and sticking.
Q5: What is the single best tip on how to care for a nonstick coating?
A: The most crucial habit is to rinse it with warm water immediately after every single use. This one action prevents 90% of all cleaning issues and dramatically prolongs the life of the coating, ensuring it performs as it should for years.
The Final Word on Frother Care
Your milk frother is more than just an appliance; it’s your personal portal to café-quality beverages at home. The key to unlocking that potential day after day lies within its delicate interior. By understanding how to care for a nonstick coating, you’re not just cleaning a machine—you’re preserving the quality of your daily ritual. So be gentle, be consistent, and your frother will thank you with countless cups of perfectly frothed, silky-smooth deliciousness. Now go forth and froth with confidence.