Ever gaze at that beautiful rosetta or heart floating on your morning latte and think, “I wish I could do that at home”? Well, you’re not alone. The secret isn’t just a steady hand; it’s the magical tool that creates that perfect, paint-like milk texture. So, you find yourself asking, What Is A Latte Art Frother? In short, it’s not a single device but rather any milk frother capable of producing high-quality microfoam—the silky, velvety milk essential for pouring intricate designs.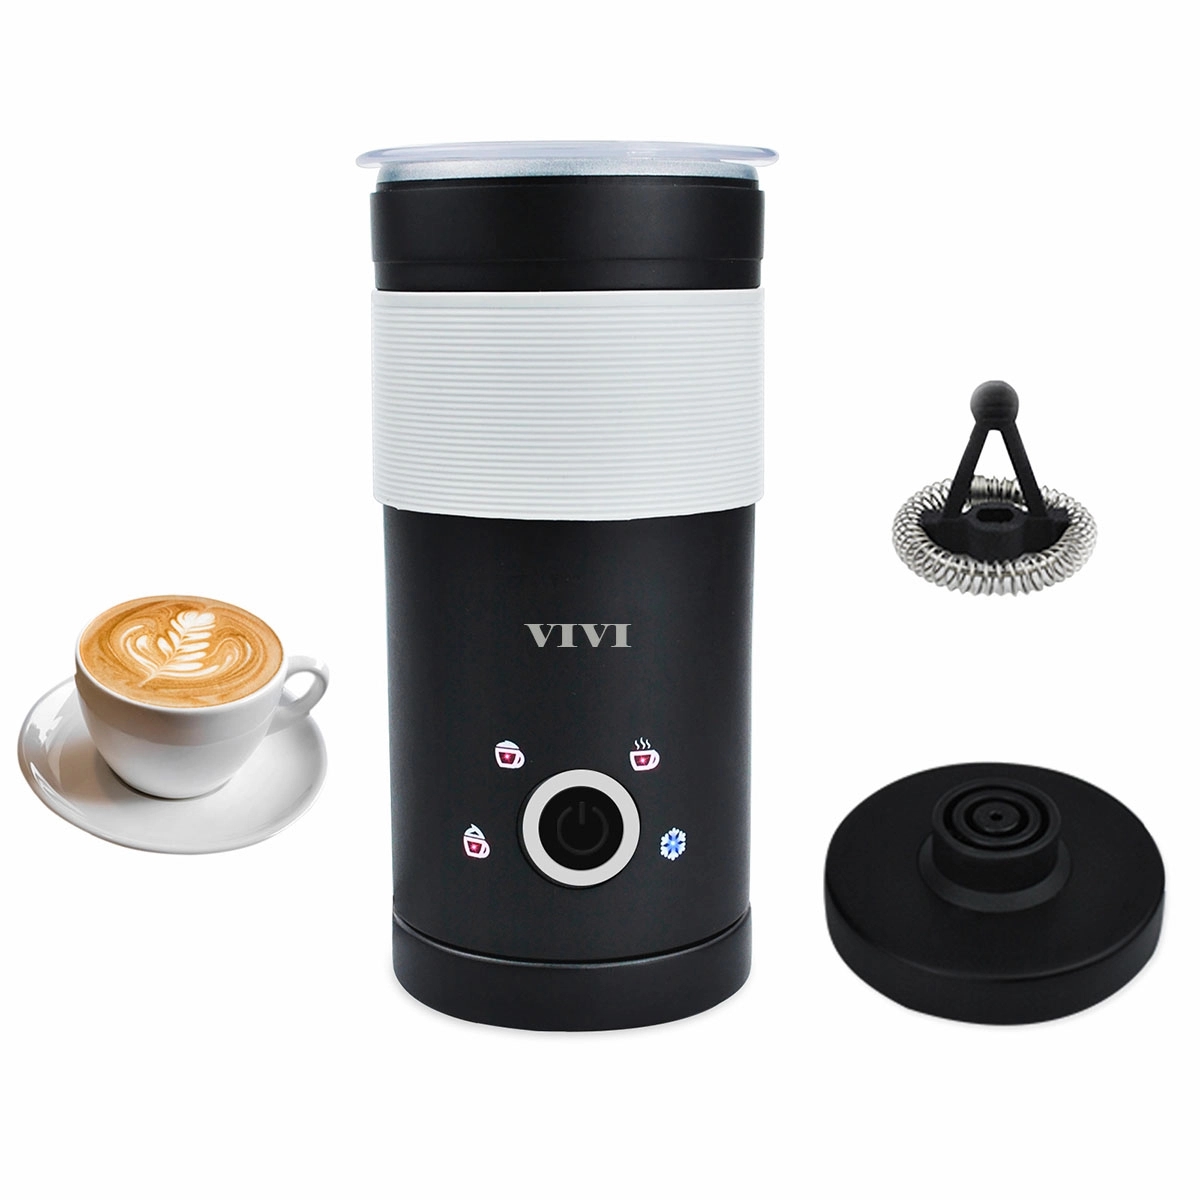
Let’s dive deep into the world of milk frothing. We’ll demystify the process, explore the different types of tools, and give you the pro tips you need to transform your kitchen into a personal café. Get ready to level up your coffee game for good.
First Off, What Is a Milk Steamer and Why Do You Need One?
Before we get into the specifics of latte art, let’s cover the basics. A milk steamer or frother is a device designed to do two things simultaneously: heat milk and aerate it (introduce air). This process breaks down the fats and proteins in the milk, creating a creamy foam that elevates drinks from a simple coffee with milk to a luxurious cappuccino or latte.
Why do you need one? Because that luscious foam is the foundation of countless specialty coffee drinks. It adds texture, sweetness, and a professional touch that you just can’t get by pouring cold milk into your espresso. It’s the difference between a good cup of coffee and a great one.
The Different Types of Milk Frothers
Not all frothers are created equal, especially when it comes to latte art. The goal for latte art is not big, airy bubbles (what we call “macrofoam,” great for a classic cappuccino), but silky, smooth microfoam. This foam has tiny, uniform bubbles that integrate perfectly with the espresso, creating a liquid texture that’s pourable, like wet paint.
Let’s break down the main contenders.
Handheld Frothers
These are the small, battery-operated wands with a whisking coil at the end. They’re incredibly affordable and easy to store.
- Pros: Inexpensive, portable, easy to clean.
- Cons: They don’t heat the milk, so you have to warm it separately. Creating true microfoam is very challenging, as they tend to create larger bubbles. They’re better for a simple foamy topping than for detailed art.
Automatic Electric Frothers
These are countertop jugs, a bit like a small electric kettle. You pour in cold milk, press a button, and it heats and froths the milk for you to a pre-set texture and temperature.
- Pros: Super convenient and consistent. Many have different settings for lattes, cappuccinos, or even cold foam.
- Cons: Quality varies wildly. Cheaper models often produce stiff, bubbly foam. To be a true latte art frother, you need a high-end model designed to create that silky microfoam.
Expert Take: According to Isabella Rossi, a veteran barista and coffee educator, “The key is control. A great frother for latte art allows you to create a vortex in the milk, folding in air gently to create a homogenous, glossy texture. Many automatic frothers are too aggressive, but the premium ones have perfected this process.”
Espresso Machine Steam Wands
This is the gold standard and what you’ll find in every coffee shop. It’s a metal wand attached to an espresso machine that injects high-pressure steam directly into a pitcher of milk.
- Pros: Offers the ultimate control over texture and temperature. This is the only tool that professionals unanimously use to create competition-level latte art microfoam.
- Cons: Requires an espresso machine with a steam wand, which is a significant investment. There’s also a steep learning curve to master the technique.
|
Our Picks for the Best Milk Steamer in 2025
As an Amazon Associate, we earn from qualifying purchases.
|
||
| Num | Product | Action |
|---|---|---|
| 1 | Dreo Milk Frother [Upgraded], All-in-1 Electric Foam Maker for Coffee, 15oz/450ml Automatic Foam Frother for Latte Art-level Microfoam, 30+ Drinks, Dishwasher Safe, Easy to Clean, LED display |
![Check Dreo Milk Frother [Upgraded], All-in-1 Electric Foam Maker for Coffee, 15oz/450ml Automatic Foam Frother for Latte Art-level Microfoam, 30+ Drinks, Dishwasher Safe, Easy to Clean, LED display on Amazon](https://milksteamerfrother.com/wp-content/plugins/amazon-tables/image/buy.png)
|
| 2 | Subminimal NanoFoamer Pro Gen-2 – Revolutionary Hands-Free Microfoam Milk Maker for Cafe-Quality Foam, Coffee Bar Accessories for Dairy & Plant-Based Milk, Perfect Coffee Gifts – US Plug Type |
|
| 3 | Milk Frother and Steamer, Large Capacity Detachable Electric Milk Frother, Automatic Warm and Cold Foam Maker, Hot Chocolate Maker, BPA Free, Black |
|
| 4 | SIMPLETASTE Milk Frother, 4-in-1 Electric Milk Steamer, Automatic Warm and Cold Foam Maker and Milk Warmer for Latte, Cappuccinos, Macchiato |
|
| 5 | SIMPLETASTE Milk Frother, 4-in-1 Electric Milk Steamer, Automatic Warm and Cold Foam Maker and Milk Warmer for Latte, Cappuccinos, Macchiato |
|
| 6 | Milk Frother and Steamer, Large Capacity Detachable Electric Milk Frother, Automatic Warm and Cold Foam Maker, Stainless Steel Jug, BPA Free |
|
| 7 | Electric Milk Frother and Steamer, 16.9oz/500ml Milk Steamer and Frother for Latte, Dishwasher Safe, BPA Free, 4 Functions, Enjoy Perfect Milk Froth in 2 Min - White |
|
| 8 | Nespresso Aeroccino 3 Milk Frother, Black, Steel |
|
| 9 | Dreo Milk Frother [Upgraded], All-in-1 Electric Foam Maker for Coffee, 15oz/450ml Automatic Foam Frother for Latte Art-level Microfoam, 30+ Drinks, Dishwasher Safe, Easy to Clean, LED display |
|
| 10 | Instant Pot Milk Frother, 4-in-1 Electric Milk Steamer, 10oz/295ml Automatic Hot and Cold Foam Maker and Milk Warmer for Latte, Cappuccinos, Macchiato, From the Makers of Instant 500W, Black |
|
How to Use a Latte Art Frother for Perfect Microfoam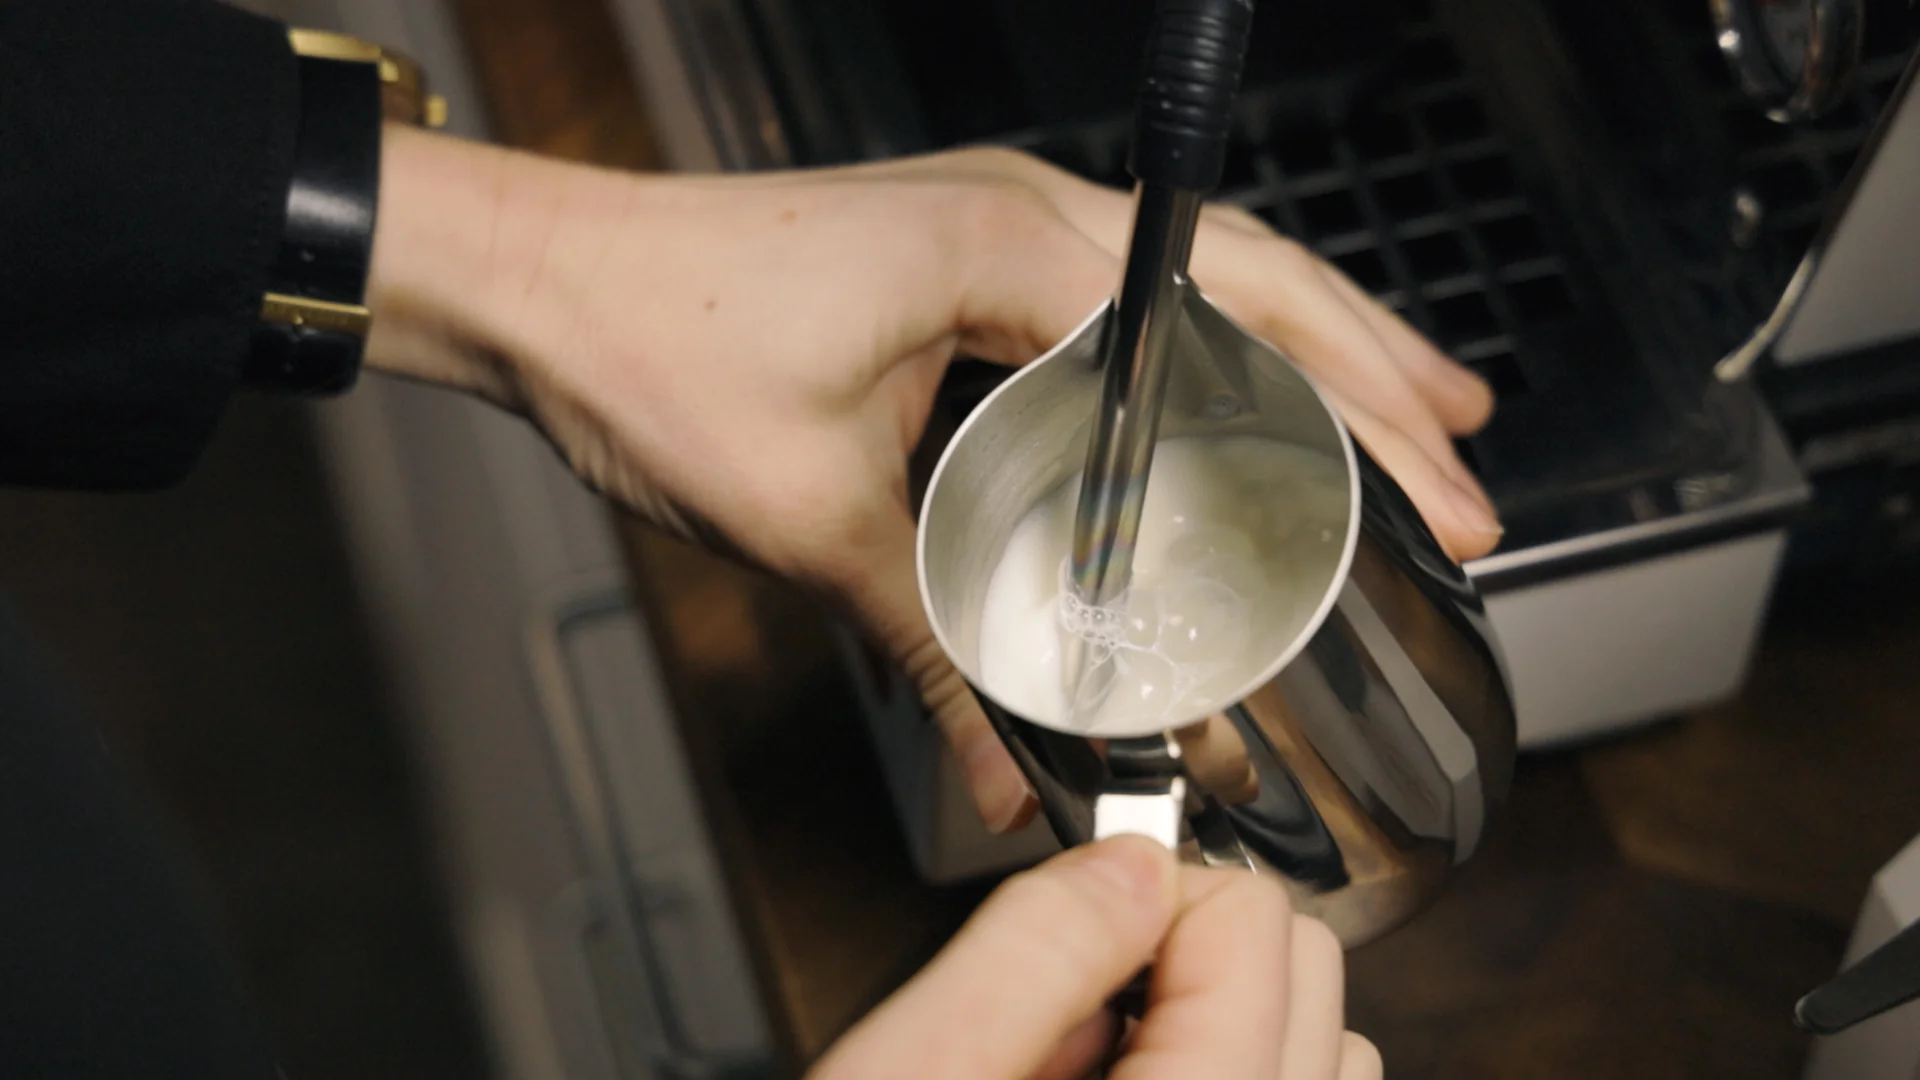
Let’s assume you have a steam wand, as it’s the ultimate tool for this job. The principles, however, can be applied to high-end automatic frothers too. Creating microfoam is a two-stage dance: stretching and texturing.
- Start with Cold Ingredients: Pour cold milk into a cold stainless steel pitcher. Fill it to just below where the spout begins. Using cold tools gives you more time to work with the milk before it gets too hot.
- Purge the Wand: Always blast a bit of steam out of the wand first to clear out any condensed water. You don’t want watery milk!
- Position the Wand (Stretching Phase): Submerge the tip of the steam wand just below the surface of the milk, slightly off-center. This position is crucial. Turn the steam on full blast. You should hear a gentle “tsss-tsss-tsss” sound, like paper tearing. This is the sound of air being introduced. The milk will start to expand in volume. This is the “stretching” phase.
- Keep It Moving: As the milk expands, slowly lower the pitcher to keep the wand tip just below the surface. Do this until the milk has increased in volume by about 20-30% and the pitcher starts to feel lukewarm.
- Submerge for Texture (Texturing Phase): Now, raise the pitcher to submerge the steam wand deeper into the milk. Angle the pitcher so the milk begins to spin into a whirlpool or vortex. This is the most important part! This vortex breaks down any large bubbles and folds the foam into the milk, creating that silky, uniform microfoam.
- Watch the Temperature: Keep one hand on the side of the pitcher. When it becomes too hot to comfortably hold for a few seconds (around 140-150°F or 60-65°C), turn off the steam. Never let the milk boil—it will ruin the flavor and texture.
- Groom the Milk: Immediately after steaming, firmly tap the pitcher on the counter a couple of times to pop any remaining large bubbles. Then, swirl the milk in the pitcher until it has a glossy, wet-paint-like sheen. Now, it’s ready to pour!
Pro Tips for Barista-Level Results
- Milk Matters: Whole milk is the easiest to learn with because its high fat content creates a rich, creamy, and stable foam. Once you’ve mastered that, you can try skim, 2%, or even alternative milks like oat milk (barista blends are best!).
- Temperature is King: Starting cold is non-negotiable. Overheating the milk “cooks” the proteins, making it taste flat and ruining the texture.
- Pitcher Perfect: Use a stainless steel pitcher with a sharp, defined spout. This gives you much better control when pouring your art.
- Practice, Practice, Practice: Your first few attempts might look more like a cloud than a heart. Don’t worry! Mastering the whirlpool and the pour takes time. You can even practice with a drop of dish soap in water to get the vortex motion down without wasting milk.
Keeping Your Frother in Top Shape: Cleaning & Maintenance
This is critical. Old milk residue can harbor bacteria and clog your equipment.
- Steam Wands: Wipe the wand with a damp cloth immediately after every single use. Then, purge it with a quick blast of steam to clear the inside.
- Automatic Frothers: Follow the manufacturer’s instructions. Most have non-stick interiors that are easy to rinse out. Don’t use abrasive scrubbers.
- Handheld Wands: Simply rinse the coil under hot water right after use.
What to Look for When Buying a Latte Art Frother
Ready to buy? Here’s a quick checklist of what to consider when you’re looking for a frother specifically for latte art.
- Control over Texture: Does the device allow for microfoam creation? For automatic frothers, look for models with a specific “latte” or “flat white” setting. For espresso machines, look for a powerful, articulating steam wand.
- Temperature Control: Can you control the final temperature, or does it have an automatic shut-off at the optimal heat? This prevents scalding.
- Ease of Cleaning: A removable, dishwasher-safe jug or a simple-to-wipe steam wand will make your life much easier.
- Capacity: How much milk do you need to froth at once? Consider the size of your favorite mug.
- Budget: Prices range from under $20 for a handheld wand to hundreds or thousands for an espresso machine. Be realistic about your needs and budget. A high-quality automatic frother is often the best middle ground for aspiring home baristas.
Frequently Asked Questions (FAQ)
Q: What is the difference between froth and microfoam?
A: Froth consists of large, airy bubbles that sit on top of the liquid, like the head of a classic cappuccino. Microfoam is made of tiny, uniform bubbles that are fully integrated into the milk, creating a silky, liquid texture that is essential for latte art.
Q: Can I make latte art with a handheld frother?
A: It’s extremely difficult. Handheld frothers are designed to create a lot of air quickly, resulting in macrofoam (big bubbles). While you can create a foamy topping, you won’t get the smooth, pourable texture needed for detailed designs.
Q: What is the best type of milk for latte art?
A: Whole dairy milk is the easiest and most forgiving for beginners due to its ideal balance of fat and protein. For non-dairy options, barista-grade oat milk is widely considered the best substitute as it steams beautifully and has a creamy texture.
Q: Why is my steamed milk bubbly instead of silky?
A: This usually means you spent too much time in the “stretching” phase (introducing air) and not enough time in the “texturing” phase (creating the vortex). Try introducing less air at the beginning and focus on getting a good, strong whirlpool to break down those bubbles.
Q: Does a more expensive frother guarantee better latte art?
A: Not necessarily, but it helps. An espresso machine’s steam wand offers the most control, which is a key factor. However, a premium automatic frother designed for microfoam can produce excellent results with far less technique required, making it a great option for many home users.
Your Journey to Perfect Latte Art Starts Here
So, what is a latte art frother? It’s your ticket to unlocking a new level of coffee creativity right in your own kitchen. It’s not one specific product, but any tool—whether it’s a powerful steam wand or a sophisticated automatic frother—that can produce that elusive, silky microfoam.
By understanding the difference between froth and microfoam, mastering the steaming technique, and choosing the right tool for your needs, you’re well on your way. Say goodbye to boring coffee and hello to your own beautiful, handcrafted lattes. The power to create a café-worthy experience is officially in your hands.